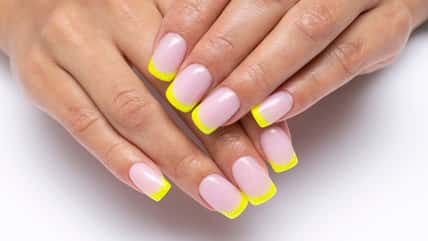
Eggnog Nails Are The Dreamiest Manicure Trend This Holiday Season

The holiday season brings with it a parade of festive trends, and this year, it’s all about bringing the cozy, comforting vibes of your favorite holiday drinks right to your fingertips.
Eggnog nails, with their creamy, dreamy aesthetic, are the latest trend to take over our Instagram feeds.
But for this look, think less about the drink and more about its warm, milky tones and speckles of spice: a perfect blend of sophistication and seasonal cheer.
Understanding The Eggnog Nail Aesthetic
Before diving into the “how-to,” let’s break down what makes eggnog nails so enticing.
It’s a blend of creamy beige or off-white base, reminiscent of the rich, milky texture of eggnog, topped with delicate specks of gold or brown, mimicking the sprinkled spices.
This look is all about subtlety and elegance, making it a versatile choice for holiday parties and cozy winter days alike.
Prepping Your Nails To Be The Perfect Canvas
Like any great masterpiece, the perfect eggnog nail begins with a clean, smooth canvas.
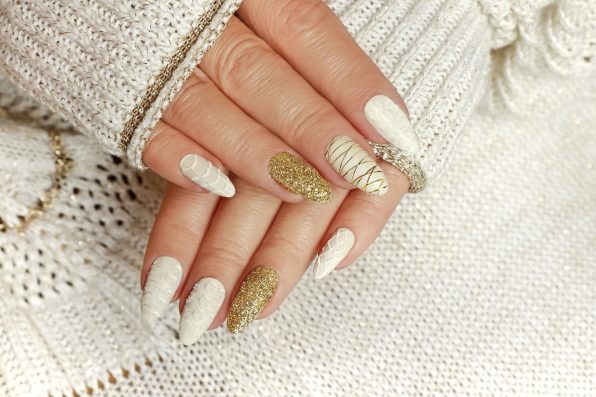
Photo 160636002 © Marigo20 – Dreamstime.com – illustrative purposes only, not the actual person
Start by giving your nails a good manicure. Be sure to trim, file, and buff your nails to your desired shape and smoothness.
Don’t forget to push back those cuticles for a neat nail bed, either. Then, a clear base coat is essential to protect your nails and ensure a lasting finish.
Choosing The Right Shades And Tools
The real key to nailing this trend (pun intended) is choosing the right shades.
You can opt for a creamy beige or a soft, off-white polish as your base. Then, for the speckles, you’ll need brown and gold polishes.
Tools-wise, a thin brush or a toothpick will be your best friend when it comes to creating those delicate speckles.
Applying The Base & Achieving The Eggnog Hue
Begin by applying two coats of your chosen creamy base color, and be sure to allow each coat to dry thoroughly.
This base is what gives the eggnog nail its rich, milky foundation, so ensure it’s even and streak-free. Patience is key here!
Creating The Speckled Effect
Once your base is dry, it’s time for the fun part– adding the “spices!”
Start by dipping your thin brush or toothpick into the brown polish and gently dot it onto your nails.
Think random, speckled, and subtle. Less is more here. You can also add a few touches of gold for that hint of holiday sparkle.
Seal The Deal With A Top Coat
After your masterpiece has dried, you’ll want to seal it in with a clear top coat.
This not only gives your eggnog nails a glossy finish but also ensures your design lasts through all your holiday activities.
Aftercare To Keep Your Mani Looking Good As New
Lastly, to keep your nails looking fresh, avoid using your nails as tools and wear gloves while doing household chores. And if you notice any chips, just a quick touch-up will do the trick.
Sign up for Chip Chick’s newsletter and get stories like this delivered to your inbox.
More About:Beauty & Style