Jack-o-lantern carving is arguably the most favored Halloween tradition in the United States. I mean, aside from getting to show off your creative side, you get to see an entire process through from beginning to end– which can be pretty satisfying.
Starting at the beginning, tiny tots and adults alike get to venture out for a fun afternoon on the patch.
People stroll up and down aisle after aisle of pumpkins, searching for the perfect gourd to grab. Then, after finding one that is just right, you officially become a pumpkin parent.
At that point, though, the fun has still barely begun– because after bringing it home, you still get to go to the store, pick out a carving kit and decide on your design.
Some people opt to make cute, smiling faces, while others go full spook.
And, of course, the best and final step is actually carving your pumpkin. You get to chop off the head, scoop out the guts and seeds, then begin widdling away until the fruit– yes, pumpkins are a fruit– takes on the face of your choice.
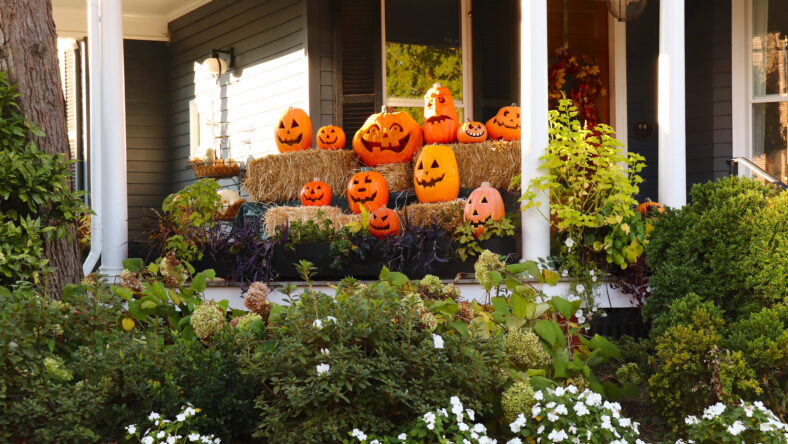
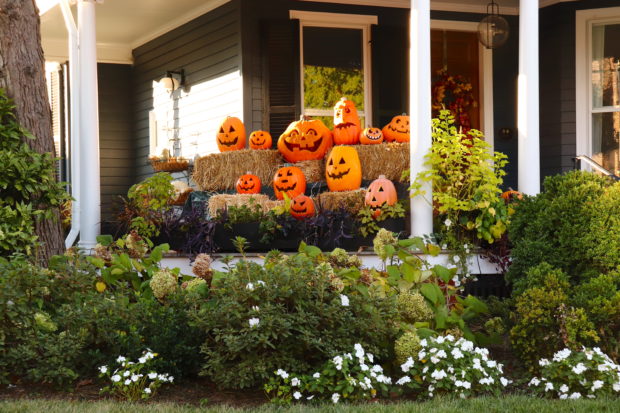
Unfortunately, though, after the “high” of dropping a tea light inside your masterpiece and setting it outside, your pumpkin probably will not last that long. In fact, the average carved pumpkin only stays in tip-top shape for a mere three to seven days.
This means that if you chose to get an early start on the Halloween festivities this year, you probably have some pretty sad-looking pumpkins sitting on your porch right now.
But, not to fear! If you have not jumped on the pumpkin carving bandwagon yet, or just want to know how to preserve your jack-o-lanterns next year, there are a bunch of steps you can take– beginning at the pumpkin patch.
Sign up for Chip Chick’s newsletter and get stories like this delivered to your inbox.
Choose Wisely & Drive Carefully
This first step may sound obvious, but it is arguably the most crucial. When you are strolling in a pumpkin patch, shop for your perfect gourd as you might for fruit at the grocery store.
Steer clear of pumpkins that are dented or damaged, and never pick one that already has a loose stem. Plus, if you see any water-soaked spots on the outside of a pumpkin, it is best to put it back.
Taking these factors into account will help prevent post-harvest diseases from invading your pumpkin.
Any cracks, soaked spots, or dents can allow bacteria, fungi, mold, and small insects to make their way inside– which will only make your pumpkin sag that much quicker.
And afterward, how you transport your pumpkin home is just as crucial. First of all, never pick up a pumpkin by its stem– because that can loosen or tear it. Second, be sure to secure your pumpkin in a bin or even with a seatbelt.
Pesky potholes and stopping short at red lights can send your pumpkin tumbling in your trunk– which only increases the risk of breakage and post-harvest diseases taking hold.
Polish Your Pumpkins Off
Well, not literally. But it is important to clean off your gourds as soon as you get them home.
While growing in the field, your pumpkin’s exterior rind has been exposed to bacteria, fungi, water molds, and soil-living organisms like mites, nematodes, and insects. Promptly removing these is ideal for preserving your pumpkin’s shelf life.
Some people go so far as to soak their pumpkins in tubs with dish soap and detergent. However, the process does not have to be that complicated.
Instead, simply grab a bleach wipe and thoroughly wipe down the rind. This will especially help if you plan to carve– since piercing a pumpkin with a dirty exterior will introduce all of those pesky organisms to the inside.
To Gut Or Not To Gut
The most challenging part about carving a pumpkin is actually scraping all of the fibrous interior strands loose and scooping them out. And doing so allows your jack-o-lantern face to really shine.
However, you do not want to make the mistake of scooping out too much. Regardless of how well you clean your pumpkin or not, these fruits will inevitably decompose.
But, by leaving your pumpkin with thick enough walls, you can prevent pumpkin collapse that much longer.
Plus, who wants to see their artwork literally fold in on itself one day?
Play Mother Nature, Kind Of
This last step can be tricky, but it will seriously make all the difference.
The month of October is known to be wet and rainy throughout various parts of the United States. And while you cannot control the weather, you can control what conditions your jack-o-lantern is exposed to.
Rain is the quickest way to invite all sorts of mold onto and into your pumpkin– especially through those triangles and teeth that you artfully carved earlier.
So, if you see rain in the forecast, move your pumpkin to a covered area or even consider bringing it inside until the ground drys up.
Take Care Of Your Creations
After you go through all of the work of visiting a patch, picking out a pumpkin, deciding on a design, and actually carving your jack-o-lantern, the last thing you want to see after coming home from a long day at school or work is your creation totally ruined.
So be sure to follow these steps and promote the best life expectancy for your Halloween decor that you can.
And, if you do it right, your pumpkins may even make it past October 31 and survive up until Thanksgiving.

By Katharina Buczek
Katharina Buczek graduated from Stony Brook University with a degree in Journalism and a minor in Digital Arts. Specializing in... More about Katharina Buczek