As the month of May progresses, we’re inching closer and closer to summertime, which means we’re going to start hitting the beach or pool and having some fun in the sun.
For many people, now is the time to start working on their summer tans. I know there are a lot of you out there who cannot stand the thought of getting through the summer without a bronze hue to your skin.
But I also know that many of you are conflicted because, in the last few years, more and more information has come out about how harmful tanning out in the sun can be to your skin.
Given the growing awareness about the risks of sun tanning, many are turning to spray tanning and self-tanners. These alternatives not only protect your skin but also give you a beautiful glow for the summer.
If you’re new to self-tanners, here are some good tips for getting the job done right so you don’t end up in a streaky, orange mess.
While there are several kinds of self-tanners with different consistencies, the consensus among online beauty influencers is that the mousse and foam styles are the best.
The light consistency makes the self-tanner easier to apply on your own, and the process goes by a lot faster than lotion or oil-style tanners.
Before we get into the step-by-step process of applying self-tanner, it’s important to note that if you have highly sensitive skin, you should speak to a dermatologist about your options before using self-tanner to avoid any breakouts or irritation.
When selecting a self-tanner, opt for a foaming or mousse type that matches your natural skin tone. Avoid going too dark, as it can look unnatural. Also, consider investing in a tanning mitt to ensure even application and prevent your hands from turning orange.
Applying self-tanner with your bare fingers can lead to streaks. You can select a self-tanner that states it’s appropriate for your face and body or buy separate tanners for your body and face. People also enjoy using a kabuki brush to apply self-tanner for more complex areas like your hands.
Once you have your supplies, it’s time to prep your skin. You want your skin to be as smooth as possible, so you should shave and exfoliate your skin before applying any self-tanner.
While it’s typical to moisturize after shaving and exfoliating, you shouldn’t do it before self-tanning, as it can prevent the product from fully absorbing into your skin.
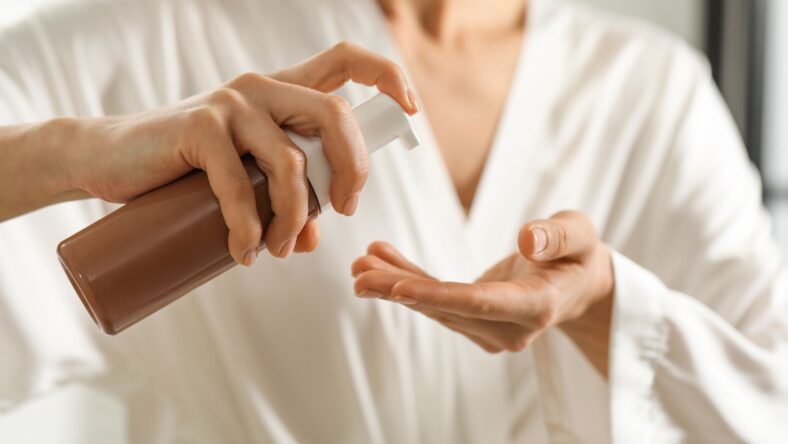
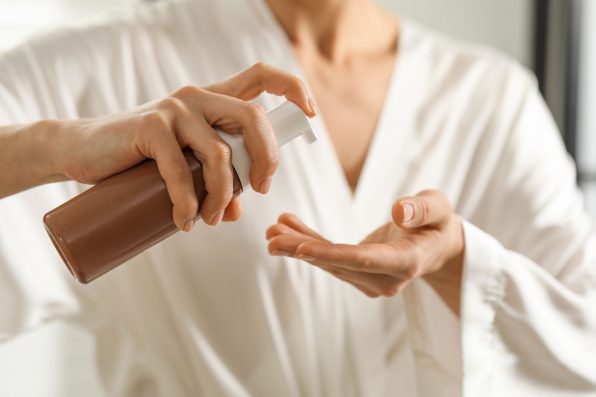
When it’s time to tan, line your bathroom with towels you don’t mind getting dirty, and apply a pump or dollop of self-tanner onto the mitt. Then, use the mitt in circular motions to massage the tanner into your skin from your feet up.
It’s best to start with your feet and legs because you bend over to get to them, and if you start with your arms or torso, you could get streaky creases from bending over.
Apply with the mindset of using one dollop of product at a time and stretching it as far as you can before applying more. That way, you’ll distribute the tanner more evenly instead of using too much product. Pay close attention to how far across your skin you’re distributing the product to even everything out.
When you get to your neck and hands, be a bit gentler and use less product. Once you get to your face, use a very gentle brush or apply a little product using your fingers, being extra cautious around your eyes and mouth.
If you have a roommate, partner, or parent who can help you out or at least take a look and make sure you didn’t miss a spot while self-tanning, like a spot on your back, that’ll make a big difference in your results!
Once your self-tanner is applied all over and you’re satisfied with how it looks, wait for it to fully dry before sitting down or changing into clothes. This can take from 30 minutes to an hour. You want to give it as much time to sink into your skin as possible.
For the day or two following your self-tanning, it’s recommended that you cover your bed and furniture with sheets and towels you don’t mind dirtying, as there’s a slight chance you could stain them. Don’t shower, swim, or come into contact with water or lotion for the rest of the day if you can. Lounge around in loose or no clothes for a few hours!
These tips should help get you on your way to self-tanning and achieving your sweet summer glow at home. If you ever need any extra assistance, look to the internet gurus who’ve been doing it for years, as they have some self-tanning hacks that are game changers. Good luck and glow on!
Sign up for Chip Chick’s newsletter and get stories like this delivered to your inbox.