Renovating a kitchen is one of the most expensive home improvement projects you can take on. If buying all-new appliances and replacing your countertops is not in the stars for you, there are still other, more affordable ways you can update the look of your entire kitchen.
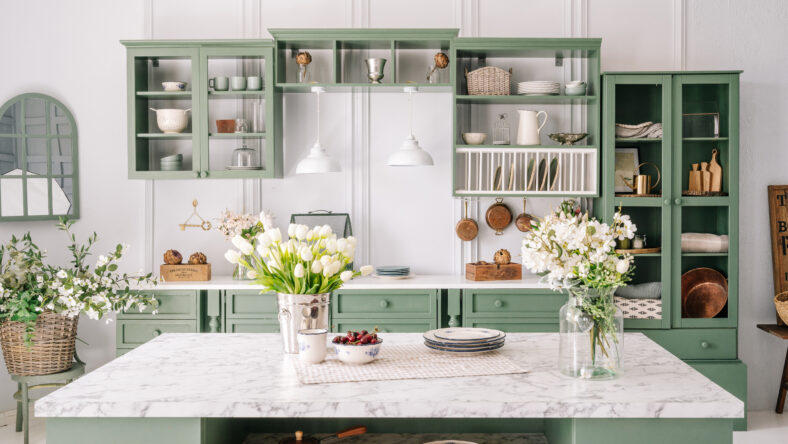
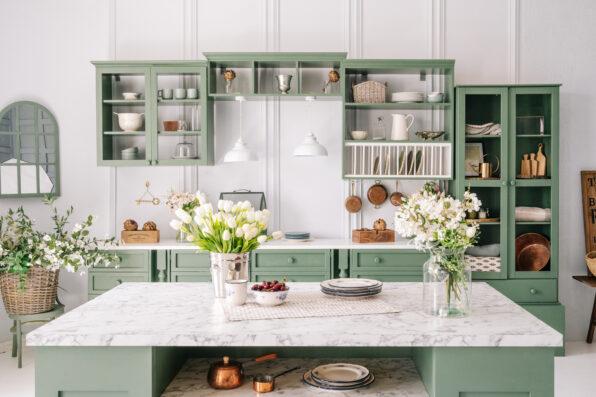
Cabinets are a strong focal point in any kitchen, so a fresh coat of paint can do wonders in transforming your space. And you don’t need to hire a professional to do it. Painting your kitchen cabinets is a task that is entirely within your capabilities.
However, there’s more to it than just picking out a gallon of paint in your favorite color. To ensure that the end result will be well worth your time and effort, follow these steps to help you achieve high-quality kitchen cabinets that look like they were painted by a pro.
First, you need to assess your cabinets to determine what kind of paint you should use. The two most common types of paints on the market are oil and latex.
Oil paint provides your cabinets with a smoother finished surface and has excellent coverage. With oil paint, it won’t take as many coats to cover up the old color. It’s also said to be more durable. It dries slowly but cures (or hardens) quickly.
However, oil-based paints emit strong fumes and are tough to clean up. A special chemical must be used to scrub the paint off your tools or wipe up spills.
Latex paints are more user-friendly. They dry quickly and can be easily cleaned up with water. They take longer to fully cure, leaving them susceptible to damage for a few weeks.
When using latex paints, prep work is super important. Unfortunately, you can’t just slap on a coat of paint and expect it to look okay.
After deciding which paint will suit your cabinets best, you’ll need to figure out how to apply the paint. You have two options: brushing and spraying.
Professional painters use paint sprayers because they allow for a smoother and faster application process. However, using a paint sprayer properly isn’t easy.
You’ll need to buy or rent the spray equipment, driving up your costs. Then, you need to cover all the areas in your kitchen that could accidentally get sprayed.
That step alone takes hours, eating up precious time you could spend on painting. For the average person and homeowner, it is recommended to paint cabinets by hand with brushes.
Once you’ve gathered all the necessary supplies and materials, it’s time to prep your cabinets for painting! First, empty your cabinets, clear off your counters, spread out drop cloths on the floor, and tape plastic over your backsplash and counters.
Next, remove the doors and drawers with a drill or screwdriver. Make sure to label which doors go where to avoid mixing them up.
Now, prep the surfaces of the cabinets. Wipe them down with a degreaser solution to remove any oil and grease. Use wood filler to repair any dents, cracks, or holes. Then, sand the cabinets so the paint will be better able to adhere to the surfaces.
Clean the cabinets again to get rid of any dust that might’ve cropped up from the sanding. Afterward, apply the primer. Allow the primer to dry completely before putting on the paint.
Coat your cabinets with a thin layer of paint. This is only the first coat, so don’t worry if you can still see the primer peeking through. Let the first coat dry, then start in on your second.
When everything is finished and dry to the touch, which is usually after 24 hours, go ahead and reassemble your cabinets. Now, you’re officially done and can enjoy your new kitchen!
If true crime defines your free time, this is for you: join Chip Chick’s True Crime Tribe
Many People Say That She’s The One Who Really Made Vincent van Gogh Famous
Sign up for Chip Chick’s newsletter and get stories like this delivered to your inbox.

By Emily Chan
Emily Chan is a writer who covers lifestyle and news content. She graduated from Michigan State University with a degree in... More about Emily Chan